Part 0.2 — How the Web Works: Requests, Responses, and the Stack
Before you build, deploy, or debug, you need to understand what actually happens when someone opens your app.
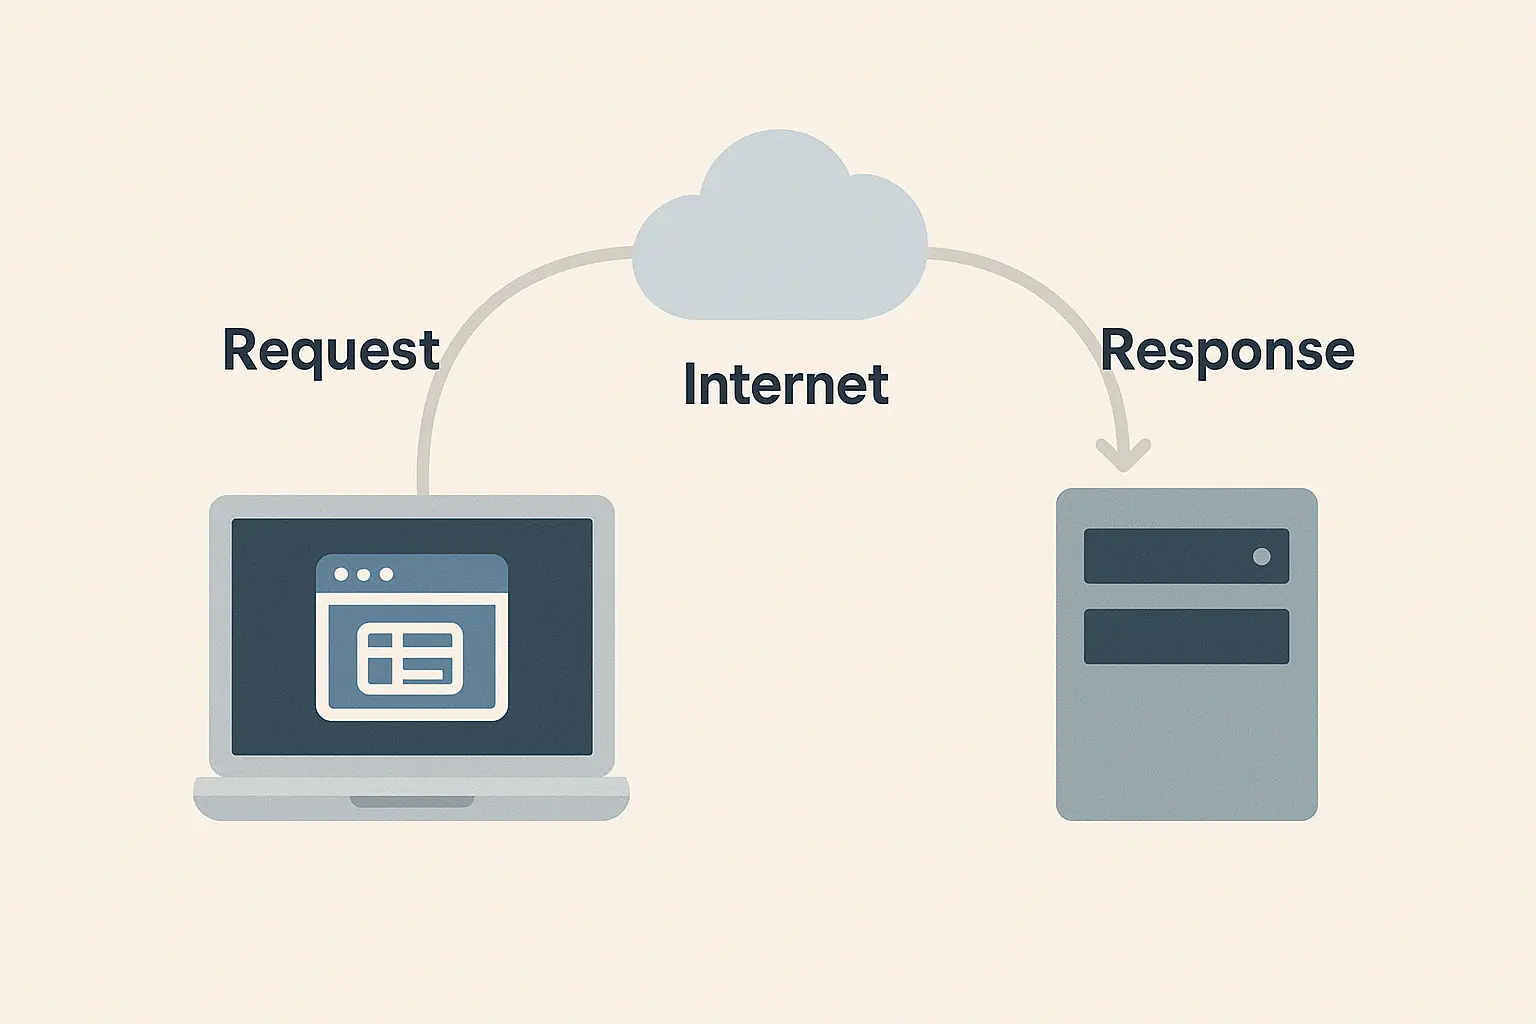
Every click, every fetch, every response traces back to one fundamental pattern: a client sending a request, and a server sending back a response.
Let’s pull the curtain back on that interaction.
1. The Journey of a Web Request
When you type a URL like https://app.example.com/api/users into your browser, here’s the high-level sequence:
DNS Lookup — Your browser translates the domain name into an IP address.
TCP Connection — The browser opens a connection to the server.
TLS Handshake (HTTPS) — Encryption starts if using HTTPS (always should).
HTTP Request — The browser sends a structured message like:
GET /api/users HTTP/1.1
Host: app.example.com
Accept: application/json
Server Processing — The backend (NestJS in our case) parses the request, talks to PostgreSQL through Prisma, and prepares a response.
HTTP Response — The server returns data, typically in JSON:
HTTP/1.1 200 OK
Content-Type: application/json

[{ "id": 1, "name": "Ava" }]
Browser Rendering — The frontend (React) reads the JSON and updates the UI.
That’s it: seven steps every web interaction follows.
2. The Client–Server Model
Your React frontend is the client — it runs in the user’s browser, makes requests, and renders responses.
Your NestJS backend is the server — it runs on a remote machine, handles requests, applies business logic, and queries PostgreSQL.
Here’s the mental model:
React (frontend)  →  REST API (NestJS)  →  Prisma ORM  →  PostgreSQL
     ↑                    ↓
   Fetch()              Response
Every endpoint is a small contract between these two halves — for example, /api/users might support:
HTTP Method | Purpose | Example Response Code |
|---|---|---|
GET | Fetch data | 200 OK |
POST | Create a resource | 201 Created |
PUT/PATCH | Update a record | 200 OK / 204 No Content |
DELETE | Remove data | 204 No Content |
3. Understanding REST: Simplicity with Structure
REST (Representational State Transfer) isn’t a library or protocol; it’s a style of designing APIs.
Its rules are simple but powerful:
Resources are nouns:
/users,/posts/12/commentsMethods express intent:
GET,POST,PUT,DELETEStatelessness: Every request must include all data needed to process it.
Use of standard HTTP status codes:
200 OK,404 Not Found,500 Internal Server Error
Example — fetching users from your backend in React:
// src/hooks/useUsers.ts
export async function useUsers() {
  const response = await fetch("/api/users");
  if (!response.ok) throw new Error("Failed to load users");
  return response.json() as Promise<{ id: number; name: string }[]>;
}
This fetch call sends a GET request to your backend.
Later, when we build the NestJS side, you’ll see the matching controller method that returns the same JSON structure.
4. Inside an HTTP Request: Anatomy of a Message
Every HTTP message has three main parts:
Start line – Method and path:
GET /api/users HTTP/1.1Headers – Metadata about the request:
Host: example.com
Authorization: Bearer <token>
Accept: application/json
Body (optional) – JSON data in
POSTorPUT:{ "name": "Ava" }
The server responds similarly — with a status code, headers, and body.
5. From REST Call to Database Query
Let’s trace a typical flow end to end — what happens when React fetches /api/users.
React sends a
GET /api/usersrequest.NestJS controller handles it in a class method like:
@Get('users')
async getUsers() {
  return this.usersService.findAll();
}
Service layer talks to Prisma:
async findAll() {
  return this.prisma.user.findMany();
}
Prisma runs a SQL query against PostgreSQL:
SELECT * FROM "User";The server wraps the result in JSON and returns it.
The frontend re-renders with the new data.
That’s your first full-stack flow — React → REST → Prisma → PostgreSQL → React.
6. Why REST Still Matters
You might hear that “REST is old” or “GraphQL is the future.”
In reality, REST remains the backbone of most production APIs — especially when combined with strong validation, caching, and predictable URLs.
REST is simpler to monitor, scale, and document. That’s why this course stays grounded in it.
7. Debugging and Observability
Learn to inspect your requests — this habit saves hours.
In the browser DevTools → Network tab, check every request’s headers and response.
Use tools like curl or HTTPie for CLI debugging:
curl -i http://localhost:3000/api/usersLog incoming requests in NestJS for early feedback:
app.useLogger(['log', 'error', 'warn', 'debug', 'verbose']);
8. The Real Goal
You now understand the invisible web conversations your app depends on.
The next time you build a React component or define a NestJS controller, you’ll see the request path and the data flow through it.
In the next sub-post, we’ll jump into Modern JavaScript & TypeScript Essentials — the language foundation that powers every line of our stack.
Related
Part 3.5 — Shaping API Contracts for the Frontend (React Integration)
Your API becomes truly useful only when the frontend can rely on it. In this post, you’ll learn how to shape consistent REST contracts, shared types, and error formats for React applications.
Part 2.5 — Consuming REST APIs with Shared Types & Error Handling Strategies
Real-world frontends need safety: typed API responses, predictable errors, and consistent client logic. This post teaches you the patterns professionals use to integrate React with REST cleanly.

Part 2.4 — UX State: Loading, Error, and Empty States in React
A React app becomes truly usable when it handles all states gracefully: loading, error, empty, and success. In this post, you’ll learn the UX patterns professionals rely on.
Comments