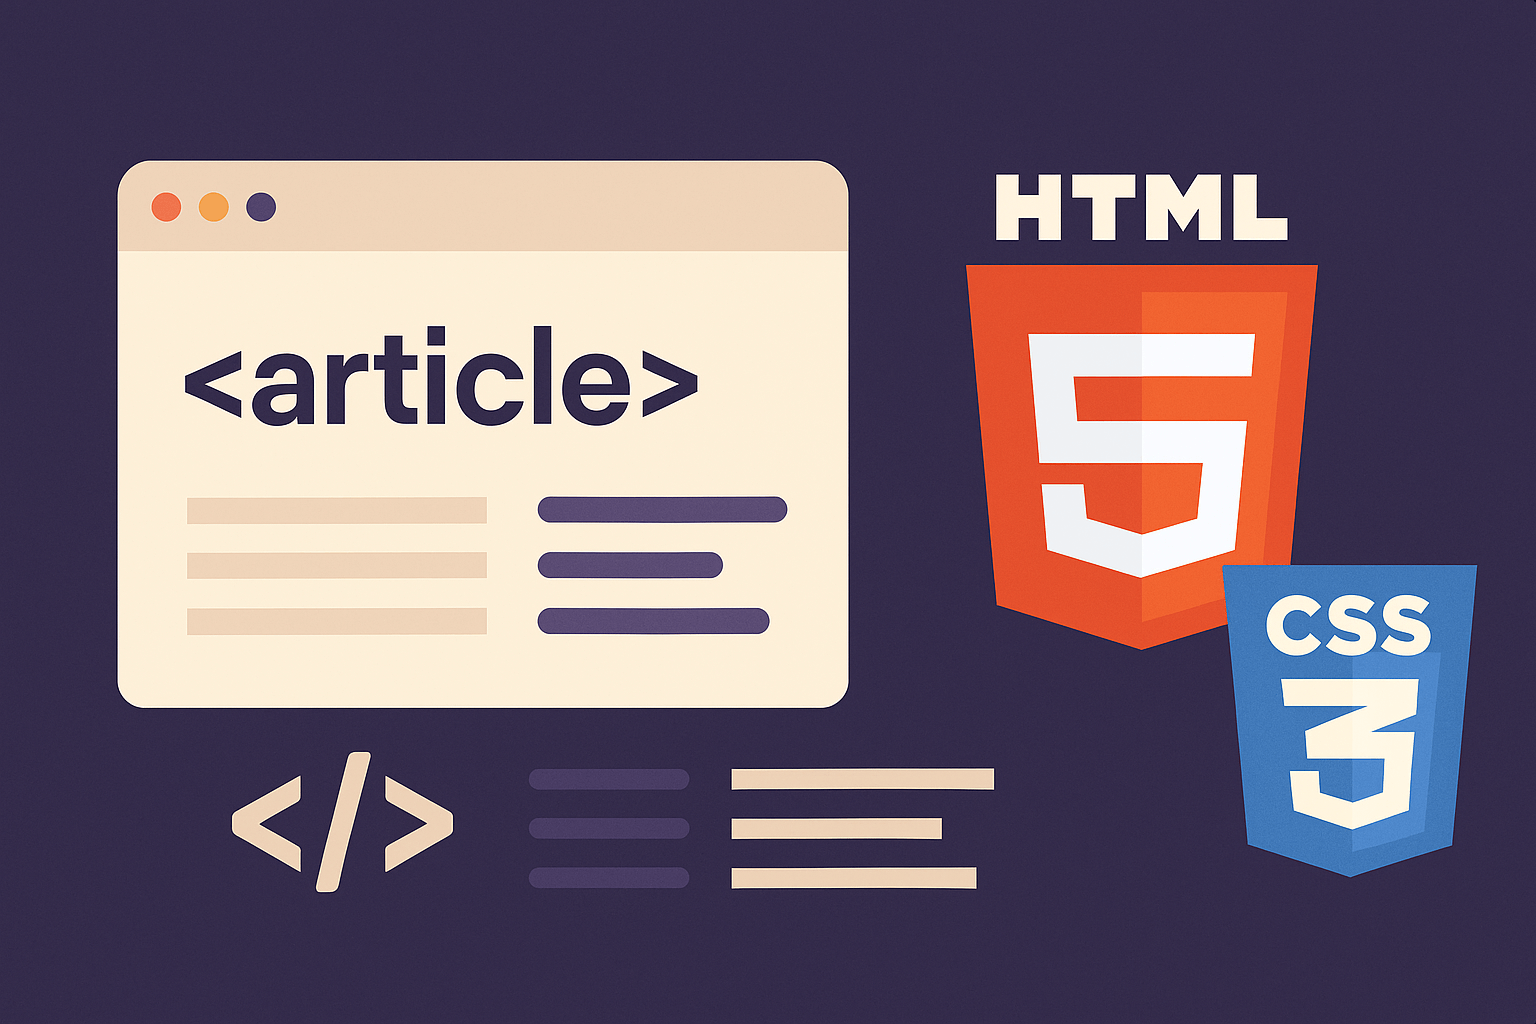
Learn Semantic HTML & CSS from Scratch
Introduction
When you're beginning frontend design, it's tempting to jump straight into styling or animations. But the foundation is semantic HTML — the proper structure of your content — and basic CSS to style it.
Semantic HTML means using tags that describe meaning, not just appearance. It helps with accessibility, SEO, readability, and future maintainability.
In this lesson, you’ll learn:
What is semantic HTML and why it matters
Core semantic HTML tags and structure
CSS basics: selectors, box model, style separation
Examples you can build from scratch
Best practices and pitfalls to avoid
Let’s get started.
1. What Is Semantic HTML?
Semantic HTML uses HTML elements that convey meaning. Instead of using generic <div> or <span> everywhere, semantic tags tell both browsers and developers what a block of content is.
Non-semantic tags:
<div>,<span>— no inherent meaningSemantic tags:
<header>,<footer>,<article>,<nav>,<section>,<aside>etc.
Why use semantic HTML?
Accessibility — screen readers and assistive tools can understand the page structure
SEO — search engines can more accurately parse content
Maintainability — code is clearer and easier to manage
Future-proofing — aligns with web standards and evolving tools
Most professional devs always use semantic HTML — proper element tags for structure — instead of just divs everywhere.
2. Core Semantic HTML Structure & Tags
Let’s go through the main structural tags you’ll use frequently.
<!DOCTYPE html>
<html lang="en">
<head>
<meta charset="UTF-8" />
<meta name="viewport" content="width=device-width, initial-scale=1.0" />
<title>My Page</title>
<link rel="stylesheet" href="styles.css" />
</head>
<body>
<header>
<nav>
<!-- navigation links -->
</nav>
</header>
<main>
<article>
<h1>Page or Article Title</h1>
<p>Some introductory paragraph…</p>
<section>
<h2>Section Title</h2>
<p>Content here…</p>
</section>
</article>
<aside>
<!-- sidebar, related links, supplementary content -->
</aside>
</main>
<footer>
<p>© 2025 My Website</p>
</footer>
</body>
</html>Tag roles
<header>— introductory content, branding, navigation<nav>— main navigation links<main>— primary content area (one per page)<article>— a self-contained block (e.g. blog post, news item)<section>— thematic grouping inside content<aside>— side content / complementary stuff<footer>— page or section footer, copyright, links
Rules / best practices:
Use
<main>only once per pageUse
<article>when content can be syndicated or read independentlyAvoid overusing
<section>for trivial divisions — only when the block has thematic meaningDon’t use semantic tags purely for styling; they must reflect content meaning
3. CSS Basics: Selectors, Box Model & Separation of Concerns
Once your HTML has good structure, CSS is responsible for the presentation. Keep structure and style separate.
3.1 CSS Selectors & Specificity
Some basics:
/* element selector */
h1 {
  font-size: 2rem;
}

/* class selector */
.article-header {
  margin-bottom: 1em;
}

/* descendant selector */
nav ul li a {
  text-decoration: none;
}

/* ID selector */
#main-banner {
  background-color: lightblue;
}
Use classes and avoid overusing element selectors in large apps to avoid collisions.
3.2 Box Model
Every HTML element is a box. The box model consists of:
Content (width, height)
Padding (space inside border)
Border
Margin (space outside border)
You can control box behavior using:
* {
  box-sizing: border-box;
}
This helps make width calculations easier (padding & borders included inside width). Always recommended as a reset.
3.3 Separation: HTML vs CSS
HTML handles semantics, structure, content
CSS handles visual design and layout
Avoid inline styles or styling via tags (e.g.
<h1 style="…">) — this mixes structure and presentation
This separation reduces clutter and improves maintainability.
4. A Simple Example: Building a Basic Webpage with Semantic HTML & CSS
Let’s build a simple webpage layout.
HTML (index.html)
<!DOCTYPE html>
<html lang="en">
<head>
<meta charset="UTF-8" />
<meta name="viewport" content="width=device-width, initial-scale=1.0" />
<title>My Semantic Page</title>
<link rel="stylesheet" href="styles.css" />
</head>
<body>
<header>
<nav>
<ul>
<li><a href="#">Home</a></li>
<li><a href="#">About</a></li>
<li><a href="#">Contact</a></li>
</ul>
</nav>
</header>
<main>
<article>
<h1>Welcome to My Page</h1>
<p>This is a sample page using semantic HTML and CSS.</p>
<section>
<h2>About Me</h2>
<p>I build beautiful and accessible web pages.</p>
</section>
<section>
<h2>My Projects</h2>
<p>Here are some projects I have done.</p>
</section>
</article>
<aside>
<h2>Related Links</h2>
<ul>
<li><a href="#">Project One</a></li>
<li><a href="#">Project Two</a></li>
</ul>
</aside>
</main>
<footer>
<p>© 2025 My Website. All Rights Reserved.</p>
</footer>
</body>
</html>CSS (styles.css)
/* Reset & base */
* {
  margin: 0;
  padding: 0;
  box-sizing: border-box;
}

body {
  font-family: Arial, sans-serif;
  line-height: 1.6;
  color: #333;
  background: #f9f9f9;
}

/* Header & nav */
header {
  background: #333;
  color: #fff;
}

header nav ul {
  list-style: none;
  display: flex;
  gap: 1em;
  padding: 1em;
}

header nav a {
  color: #fff;
  text-decoration: none;
}

/* Main / layout */
main {
  display: flex;
  gap: 2em;
  padding: 2em;
}

article {
  flex: 3;
  background: #fff;
  padding: 1em;
  border-radius: 5px;
}

aside {
  flex: 1;
  background: #fff;
  padding: 1em;
  border-radius: 5px;
}

/* Footer */
footer {
  text-align: center;
  padding: 1em;
  background: #333;
  color: #fff;
  margin-top: 2em;
}
This simple example demonstrates:
A semantic page structure
Separation of layout and style
Clean, readable code
You can open this in the browser to see how it looks.
5. Best Practices & Common Mistakes to Avoid
Best Practice | Why / Benefit | Avoid This Mistake |
|---|---|---|
Use semantic tags meaningfully | Enhances accessibility, SEO, clarity | Using |
Don’t over-nest | Deep nesting makes code hard to read | Overusing |
Use classes for styling, not semantic tags | Easier modifications later | Styling |
Validate HTML | Ensures correct structure | Unclosed tags, duplicate |
Progressive enhancement | Content works without CSS/JS | Hidden content that breaks if CSS fails |
✅ Summary & What’s Next
You’ve now built a solid foundation:
Understood semantic HTML and its importance
Learned core structural tags and rules
Got basics of CSS selectors, box model, separation
Built a sample page with semantic structure + styling
Seen best practices and common pitfalls
In the next post, we’ll dive deeper into the visual box model — margins, padding, borders, and how they affect layout and alignment. We’ll see how to control spacing, box sizing, and layout principles.
Stay tuned for “Master the Visual Box Model: Margins, Padding & Borders Explained”.
Related
Design Systems & Component Libraries — TailwindCSS, CSS-in-JS & Scalable Frontend Architecture
Learn how to build scalable design systems and UI component libraries using TailwindCSS, CSS variables, and CSS-in-JS. Create reusable, consistent, and maintainable frontend foundations.
Performance Optimization for CSS & Frontend Rendering
Learn advanced CSS and frontend optimization techniques to enhance performance, improve rendering speed, and ensure smooth, fast user experiences.
Animations, Transitions & Microinteractions for Delightful UX
Learn how to use CSS animations, transitions, and microinteractions to create interactive, engaging, and intuitive frontend experiences that captivate users.
Comments