Part 1.4 — Handling Events and Forms Safely in TypeScript
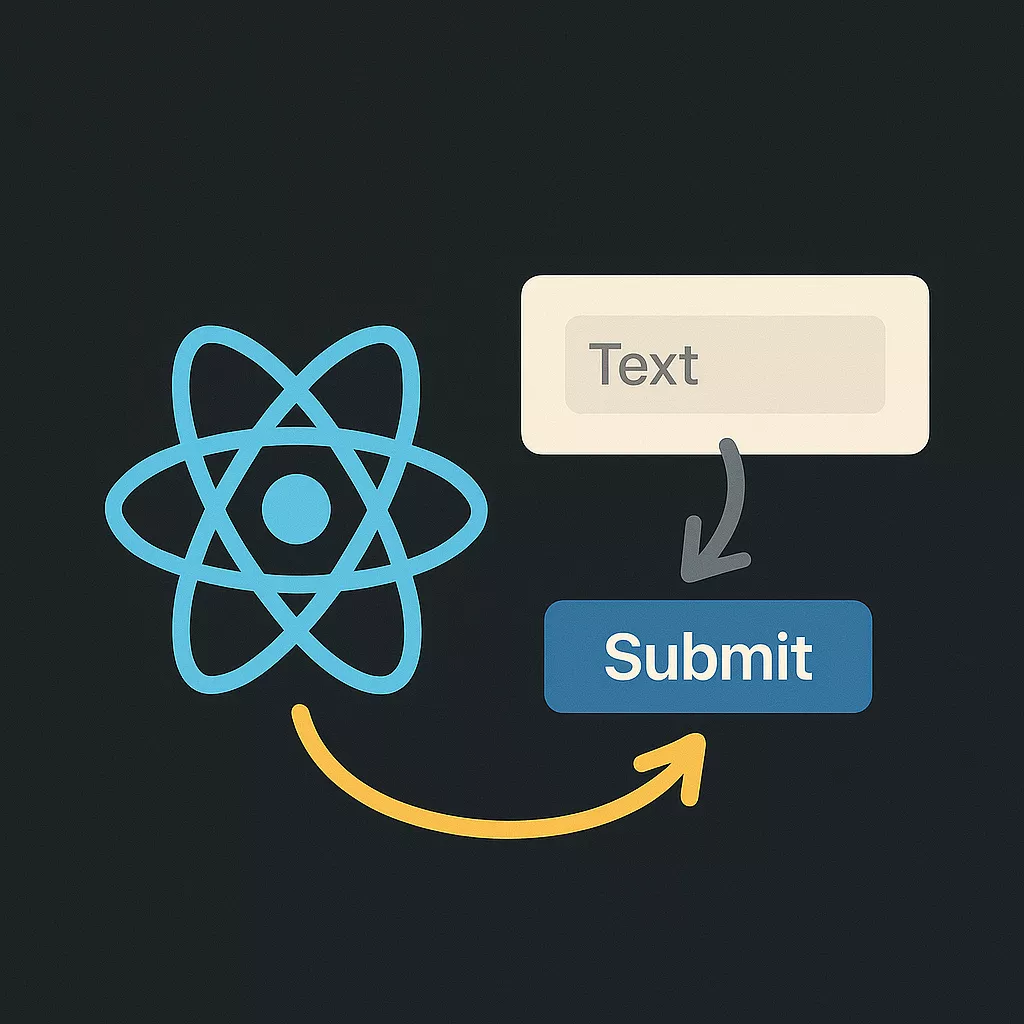
If React is all about user interaction, then event handling and forms are the bridge between users and data.
In this post, we’ll explore how React and TypeScript work together to capture, validate, and manage input safely — with clean, type-safe code that scales to real applications.
1. The Concept: Controlled Components
In React, form inputs are controlled by state.
That means their value lives in your component, not in the DOM.
It’s the most predictable, debuggable way to manage user input.
Example:
import { useState } from 'react';

export function NameForm() {
  const [name, setName] = useState<string>('');

  return (
    <form>
      <input
        type="text"
        value={name}
        onChange={e => setName(e.target.value)}
        placeholder="Enter your name"
      />
      <p>Hello, {name || 'friend'}!</p>
    </form>
  );
}
Typing the event (e: React.ChangeEvent<HTMLInputElement>) ensures we always access valid properties on the event target.
2. Typing Event Handlers in TypeScript
Each DOM event type in React has a corresponding React event type:
Event Type | TypeScript Type | Example |
|---|---|---|
Input change |
|
|
Form submit |
|
|
Button click |
|
|
Example:
const handleChange = (e: React.ChangeEvent<HTMLInputElement>) => {
  console.log(e.target.value);
};

const handleSubmit = (e: React.FormEvent<HTMLFormElement>) => {
  e.preventDefault();
  console.log('Form submitted');
};
Using any here is a red flag — precise event types are free type safety.
3. Multi-Field Form Example
Let’s make a small user registration form:
import { useState } from 'react';

interface FormState {
  name: string;
  email: string;
}

export function RegisterForm() {
  const [form, setForm] = useState<FormState>({ name: '', email: '' });

  const handleChange = (e: React.ChangeEvent<HTMLInputElement>) => {
    setForm(prev => ({ ...prev, [e.target.name]: e.target.value }));
  };

  const handleSubmit = (e: React.FormEvent<HTMLFormElement>) => {
    e.preventDefault();
    console.log(form);
  };

  return (
    <form onSubmit={handleSubmit} className="space-y-2">
      <input
        name="name"
        type="text"
        value={form.name}
        onChange={handleChange}
        placeholder="Name"
      />
      <input
        name="email"
        type="email"
        value={form.email}
        onChange={handleChange}
        placeholder="Email"
      />
      <button type="submit">Register</button>
    </form>
  );
}
TypeScript catch: If you typo a field name or use the wrong event type, the compiler will flag it before runtime.
4. Input Validation Patterns
Validation can happen in two ways:
Client-side validation (React):
Use conditionals and messages inside your component.
const [error, setError] = useState<string | null>(null);

if (!form.email.includes('@')) {
  setError('Invalid email address');
}
Backend validation (NestJS + class-validator):
Your frontend should always complement, not replace, backend checks.
Later in Part 3, you’ll use DTOs like:
export class CreateUserDto {
  @IsEmail()
  email: string;
}
Together, both layers form a bulletproof validation pipeline.
5. Handling Checkbox and Select Inputs
Each input type emits a slightly different event.
Here’s how to handle them safely:
Checkbox:
const [terms, setTerms] = useState(false);

<input
  type="checkbox"
  checked={terms}
  onChange={(e: React.ChangeEvent<HTMLInputElement>) => setTerms(e.target.checked)}
/>
Select:
const [role, setRole] = useState('user');

<select
  value={role}
  onChange={(e: React.ChangeEvent<HTMLSelectElement>) => setRole(e.target.value)}
>
  <option value="user">User</option>
  <option value="admin">Admin</option>
</select>
Each element type has its own event target shape — which TypeScript enforces for you.
6. Submitting Forms: The Right Way
React’s onSubmit handler should always:
Call
e.preventDefault()Validate inputs
Trigger side effects (API call, route change, etc.)
Example — simulating a POST request to the backend:
const handleSubmit = async (e: React.FormEvent<HTMLFormElement>) => {
  e.preventDefault();
  const res = await fetch('/api/register', {
    method: 'POST',
    headers: { 'Content-Type': 'application/json' },
    body: JSON.stringify(form),
  });
  if (!res.ok) alert('Registration failed');
};
This mirrors the future flow of your full-stack app:
React form → fetch → NestJS controller → Prisma → PostgreSQL7. Common Mistakes and How to Avoid Them
Mistake | Fix |
|---|---|
Using | Use React’s built-in event types |
Not preventing default submit | Always call |
Uncontrolled inputs (no | Always bind input value to state |
Over-nesting forms | Only one |
Inline anonymous functions everywhere | Define handlers outside JSX for readability |
Clean event handling = predictable UX + maintainable code.
8. Adding a Reusable Input Component
Refactor repeated logic into reusable components.
interface InputProps {
  label: string;
  name: string;
  value: string;
  onChange: (e: React.ChangeEvent<HTMLInputElement>) => void;
}

export function Input({ label, name, value, onChange }: InputProps) {
  return (
    <label className="flex flex-col gap-1">
      {label}
      <input
        className="border rounded p-2"
        name={name}
        value={value}
        onChange={onChange}
      />
    </label>
  );
}
You’ll reuse this structure across multiple forms in future parts (login, task creation, profile update, etc.).
9. Accessibility and UX
Accessibility isn’t optional:
Every input needs a
<label>Use proper input types (
email,password, etc.)Show real-time validation feedback
Disable submit buttons while submitting
A usable form is a trustworthy form.
10. Wrapping Up
You’ve learned how to:
Handle events safely with proper types
Control input values with state
Manage form submission and validation
Write reusable, accessible UI
In Part 1.5, we’ll put everything together and build your first fully interactive mini app — a type-safe Todo List that will form your bridge to backend APIs later.
Related
Part 7.5 — Build Optimization with Vite: Code Splitting & Env Handling
Vite makes development fast by default. This post shows how to make production builds just as intentional—lean bundles, predictable envs, and code that ships only when needed.
Part 7.4 — Performance Hooks: useMemo, useCallback & useDeferredValue
Performance hooks are scalpels, not band-aids. This post teaches you how to use them intentionally—only where they solve real problems.
Part 7.3 — Custom Hooks as Architecture: Patterns & Pitfalls
Custom hooks aren’t just helpers. Used well, they define architectural seams in your React app. Used poorly, they hide complexity and make refactoring painful.
Comments